Thursday, September 2, 2010

Orientation Day at Mom's Day Out

Madison will be attending a Mom's Day Out program one day a week this year.  This is her first year.  She is really excited, and so am I! Today she got to meet her teacher, Ms. Stephanie.  It turns out....I know her teacher.  We graduated from college together.  I volunteered to be the room mother, and I am really excited about that!!! I welcome any and all fabulous ideas.


As you can see, Madison took flowers to her teacher. She got to help me with the arrangement, and she was really excited to give them to her.  She walked right in the classroom and said, "Hi, I'm Madison!" The flower idea came from the blog, Little Pumpkin Grace...and Baby Hudson too.


Wednesday, August 11, 2010

An outfit for Madison

I am so proud of this outfit. I think Madison might wear it to her first day of Mom's Day Out. I hope to get it monogrammed first.


For those interested, I used a pattern by Bonnie Blue called Hallie. It was very simple to make. There are 2 tops to choose from. Plus, you can choose to make knee length pants or ankle length. I chose the knee length. It actually falls just below her knees.


- Posted using BlogPress from my iPhone

Tuesday, August 10, 2010

I've been sewing!

Last week I was able to do some sewing! I finished a John-John for my baby boy, an outfit for my daughter and an a-line dress for a friend's niece. I can't wait to show you the outfit I sewed for Madison. I still want to get it monogrammed. She might wear it to her first day of Mom's Day Out. Here is a pic of the a-line dress with a ruffle. If anyone knows an easy way to a add a ruffle to these boogers...please tell me! It gave me fits! I use the Martha Pullen instructions for a basic a-line dress. The same instructions will not work when you want to add a ruffle. There has to be a simple way.


- Posted using BlogPress from my iPhone

Sunday, August 1, 2010

Perhaps I'm Nesting?...Organizing the Playroom

With only 16 days until my induction, I think the nesting phase has begun!

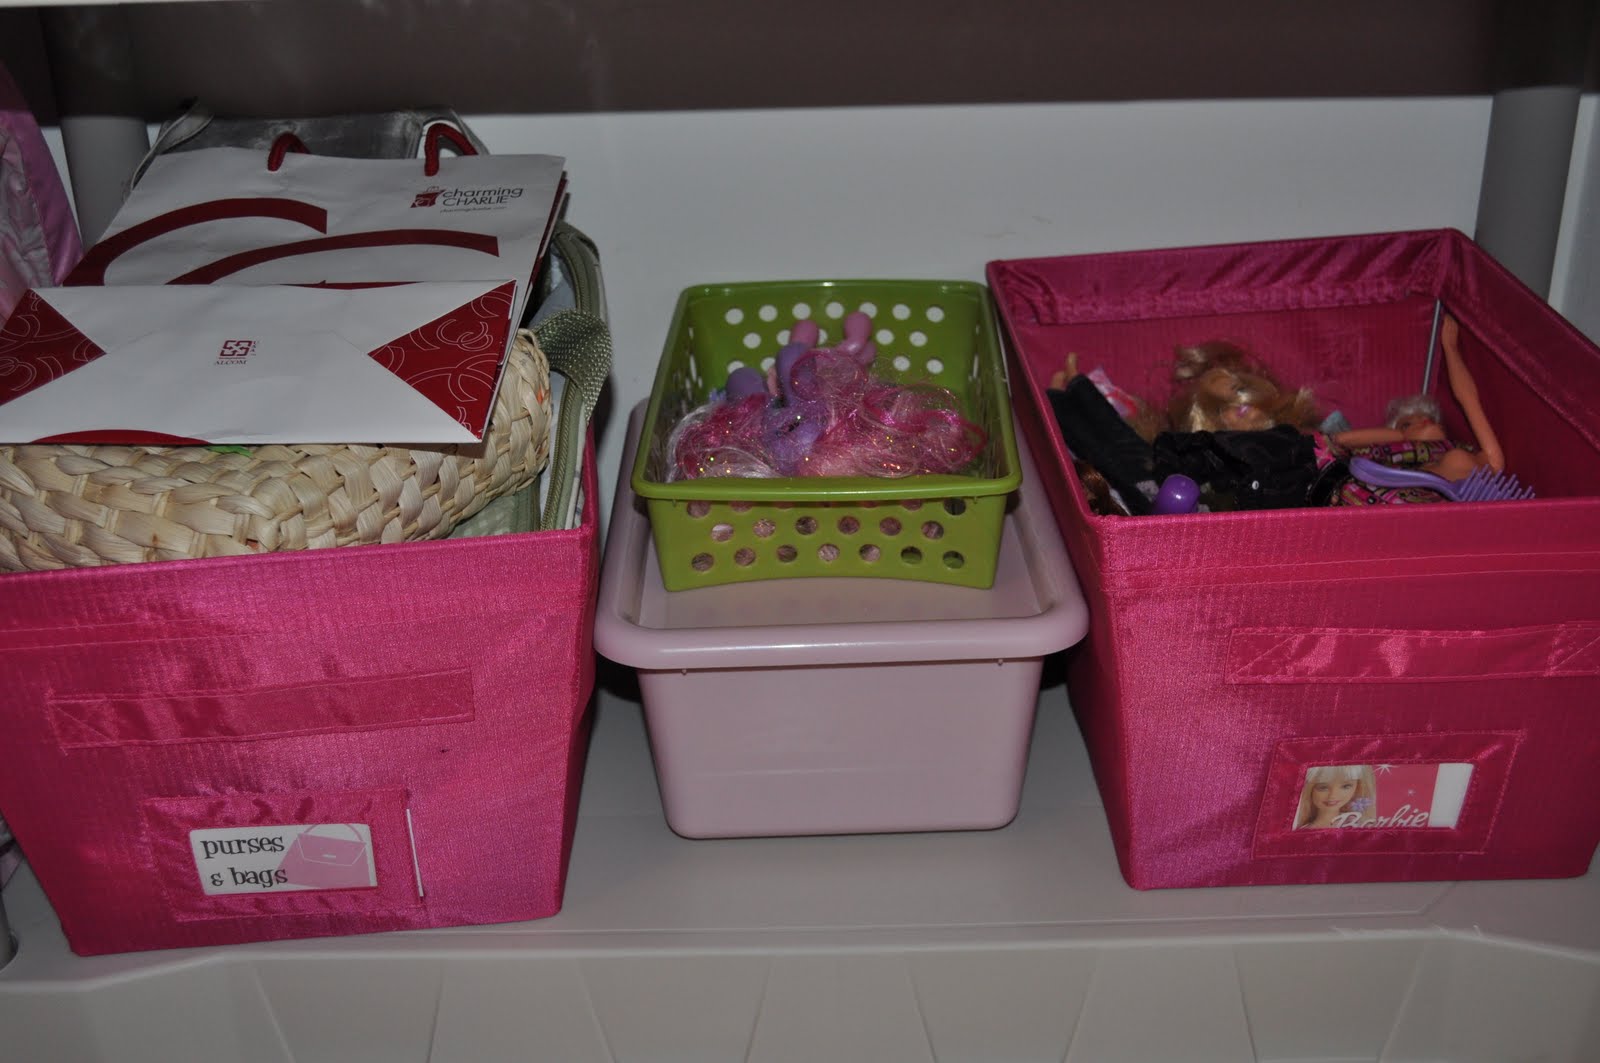
99% of the time, the playroom looks like a tornado tore through it.  It amazes me that kids will play in a space with little to no walking room......BECAUSE THEY THREW ALL OF THE TOYS ON THE FLOOR!!!  I had a very easy storage system in there at first. There were two huge toy baskets and a book shelf. The playroom has an itty bitty closet, but it hasn't been used because there were no shelves in there.  Well, instead of waiting on someone to build shelves for me, I decided to buy a cheap shelving system that I could install myself.  I went to Big Lots and purchased some toy bins, and I made my own labels.  My daughter is only 2 so I needed labels that she could recognize by sight.  Therefore, I found images that were very recognizable. You are welcome to use them too.

Toy Bin Labels

Here are some pics of the organized playroom.  I wish it could stay like this forever!


Friday, July 30, 2010

Pacifier Clips

PAY CLOSE ATTENTION:
The following picture shows my original materials.  HOWEVER, I do NOT recommend the Snap Plier tool that you see in the pic.  It was expensive ($22.49), and it didn't work for me.  Maybe mine was defective, but there is a much cheaper/easier tool to use.


I do recommend this tool.  It was only $7.49 and much easier!


Cut a strip of ribbon about 17-18 inches....depending on how long you would like the strap to be.  Seal the ends of the ribbon with a lighter. Feed one end of the ribbon through the mitten clip and fold the ribbon in half.  Use pins to hold the ribbon together.  The ribbon should now appear to be about 8 1/2-9 inches. (**You do not have to double the ribbon, but I wanted the pattern to appear on both sides.)


Sew along the edges in order to connect the ribbon together. Make sure that you also sew directly below where you fed it through the clip.


Fold the end of the ribbon over about 1 inch.  Follow the instructions on the back of the snap tool package to add the snaps. It is as easy as that!

VOILA!


Check out other DIY projects at 

&


Monday, July 26, 2010

Shelf & Picture Frames

Here is another little project for Brantley's room.  I did not think to take a before pic, but if you can, imagine that this shelf and these picture frames used to be black.  My sweet hubby spray painted them a glossy white to match the trim in the room.  I decided to add a few embellishments to help them coordinate with the bedding.  I can always remove the ribbon and they can be sprayed with a fresh coat of paint when the bedding changes. I can't wait until the frames are filled with pics of my sweet little man. He is due 4 weeks from tomorrow!


Saturday, July 24, 2010

Diaper Organizer

The nursery is ALMOST ready for our baby boy! He is due exactly 1 month from today.  The colors in his nursery are navy blue, lime green and white.  We painted the walls a khaki color.  I have been working on several little projects for his room that I want to show you before I show the finished nursery.

I picked up a couple of wooden baskets at a yard sale several months ago.  I put one in my daughter's bathroom and I saved one for Brantley.  It started out yellow.  I painted it navy blue with intentions of adding vinyl initials or his name to the side.  HOWEVER, I found this adorable lime green alligator at Hobby Lobby last night.  It was already painted.  PERFECT.  I simply hot glued it to the side and added a green ribbon to the handle.  I think it pretty stinkin' cute! Check out my before and after pics.

BEFORE (oops I almost forgot to take the before pic)


AFTER


Check out other DIY projects at :


Thursday, July 22, 2010

Book Wreath

Somehow I stumbled upon a blog yesterday.  It is called  According to Kelly. Well, she had a featured blogger friend named Lindsay write a guest post on her blog.  It was a tutorial on how to make a Book Wreath.  The BEST part about this wreath is that it only costs $2!!!!!!!!!!!  That's right, folks, TWO SMACKEROOS!  If you make it and hate it, you can chunk it and not feel bad about the wasted money.  So, I took myself to the Dollar Tree today and bought a wreath and a book.  I choose a Christmas novel. I wondered if I might like to read the book, but I figure with a 3 year old and 4 month, I will not be reading any novels around Christmas time this year. So, I gave myself permission to destroy a perfectly good book.  I think it was worth it.....what do you think?


I think the only thing I did differently from the original instructions was I wrapped the wreath in pages first. My wreath was green.  Lindsay's was white.  I figured the green would really show through if I didn't cover it. Here are the photos I took as I constructed my wreath.


Step 1: Gather supplies (wreath, book, glue gun, brown paint)

Step 2: Paint the edges of the book

Step 3: Cover the wreath with pages from the book

Step 4: Begin to cover the bottom of the wreath with folded pages. Check out Lindsay's tutorial for more detail instructions.  She even provided a video tutorial.

Step 5: Flip it over


Step 6 (optional): If you are 35 weeks pregnant. This is a good time to stop for a snack! Mmmmm.  Vanilla yogurt with granola!


Step 7: Start covering the front of the wreath with the folded pages


I am not sure of the wreath's final destination, but for now....this will do.

Thanks to Lindsay and Kelly for sharing this tutorial!

Friday, July 2, 2010

Giveaway at This Crazy Life

I am ordering my son's birth announcements from this adorable website called HollyDays.  There is a blog called This Crazy Life that is doing a giveaway for a product from HollyDays!  I am so excited.  You should check them out!


Thursday, July 1, 2010

A Day of Silence for Cohen


A Day of Silence for Cohen